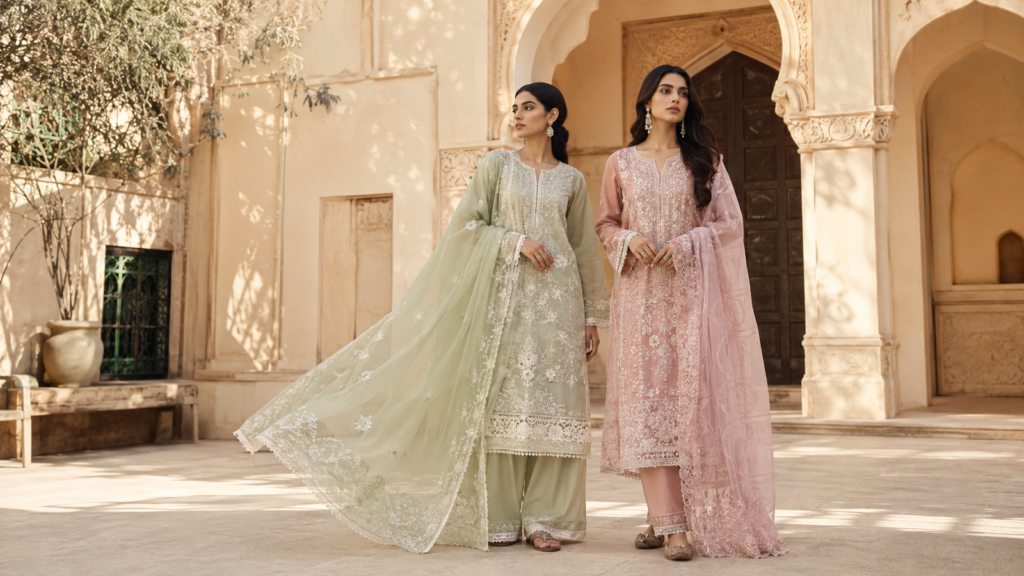
Straight, A-line and flared are useful starting words, but two people may picture different amounts of width or movement when they use them. Before tailoring a kameez, show the outline you mean and explain how you want it to sit and move. The final choice should work with your preferences, the supplied material and the rest of the outfit, rather than a label alone.
Compare outlines instead of names alone
Collect a small number of reference images with clearly visible shirt shapes. Choose views that show the hem and sides rather than photographs where a dupatta covers most of the garment. Note what you like in each: a close outline, a gradual opening or a more generous sweep.
Avoid presenting a large collection of unrelated references. Two clear examples with written observations are often easier to discuss than ten images containing different necklines, sleeves and trouser styles. Isolate the silhouette decision before adding every decorative detail.
Try the proportions with clothes you own
Put on a familiar shirt and the trousers you expect to wear. Observe the amount of space around the lower part of the shirt and how the sides sit when you walk or sit. Explain which part you want changed in the new outfit.
For example, you may like the shoulders and upper body of a reference garment but want a different lower outline. That is a more precise request than asking for a generally looser shirt. The tailor can assess what changes are appropriate for the intended construction.
Check the supplied fabric before committing
For an unstitched set, bring the panel layout, quantities and decoration to the discussion. Ask whether the desired shape can be achieved while preserving the design elements you want. A fixed border or placed motif may require a different plan from a repeated print.
Do not choose a silhouette solely from the photographed sample and assume the same package supports every variation. The question belongs to the actual supplied pieces, your measurements and the tailor’s cutting assessment.
Use a simple decision note
Write one sentence for each candidate shape. For instance: option one keeps a quieter outline with these trousers; option two gives the lower shirt more presence; option three would need a different border arrangement. These are visual and practical observations rather than rules about which body should wear which shape.
Review the tailoring brief to record the choice. If the fabric includes prominent decoration, border planning helps connect the silhouette to the supplied design.
Browse unstitched clothing after deciding which outline you want assessed. A successful brief gives the tailor enough clarity to advise on the actual materials while keeping your preferred appearance and movement at the centre of the decision.
Continue exploring Tailoring & Fit or browse the Feyorawears Style Journal.
Featured image: Feyorawears editorial illustration.