A clear tailoring brief turns a collection of preferences into decisions someone else can work from. It does not need professional drawings or complicated terminology. It needs the supplied components, the shape you want and the details you do not want changed without discussion. Preparing those points before the appointment can make the conversation more focused and the final outfit easier to assess.
Begin with the actual package
Lay out the shirt sections, trouser fabric, dupatta and any separate decorative pieces. Photograph them individually and together. Keep the seller’s quantities and component descriptions nearby, but ask the tailor to assess the actual materials before agreeing to a layout.
Mark anything that is not included but appears in your inspiration picture. That could be a lining, extra trim or a different accessory. Separating supplied materials from proposed additions makes both the design and quotation easier to understand.
Write three priorities
Choose the details that matter most to you. For example: preserve the embroidered hem border, use a neckline depth I already like, and allow comfortable seated movement. A short priority list helps when two design requests cannot both be achieved exactly as imagined.
Then identify flexible details. You might be open to a different sleeve finish but want to approve it first. Make that distinction explicit instead of leaving the tailor to guess which parts of a reference photograph are essential.
Bring a useful fit reference
If you own a garment whose fit you like, ask whether bringing it would help. Explain what works about it rather than requesting an exact copy of every measurement. Its neckline may be useful while its sleeve length is not what you want for the new suit.
Keep body measurements and finished garment measurements clearly labelled. Our measurement guide explains the difference. The tailor should decide how those references relate to the actual construction and your intended fit.
Record decisions while they are discussed
A simple brief might read: straight shirt; agreed finished length recorded by the tailor; original hem border retained; neckline based on the reference garment; pockets only after placement is approved. Add the date and any questions still open.
Include responsibility for extra materials, the fitting stage and the expected completion arrangement. Do not assume a design change is included in an earlier quotation. Ask for its effect on cost and timing before agreeing to it.
Close the appointment with a review
Read the brief together and confirm which decisions require another conversation before cutting or finishing. Save a photograph of the written notes with the component images. Use the first-fitting checklist when reviewing how those decisions appear on the body.
Browse unstitched sets with a brief in mind rather than a vague promise to decide everything later. Clear instructions leave room for skilled judgement while keeping your own priorities visible throughout the tailoring process.
Continue exploring Tailoring & Fit or browse the Feyorawears Style Journal.
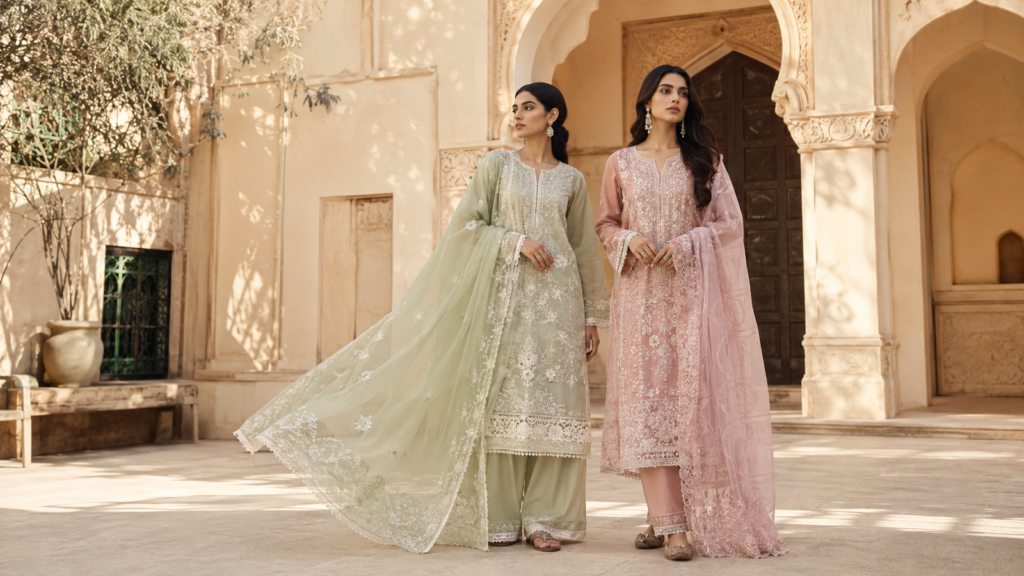
Featured image: Feyorawears editorial illustration.