
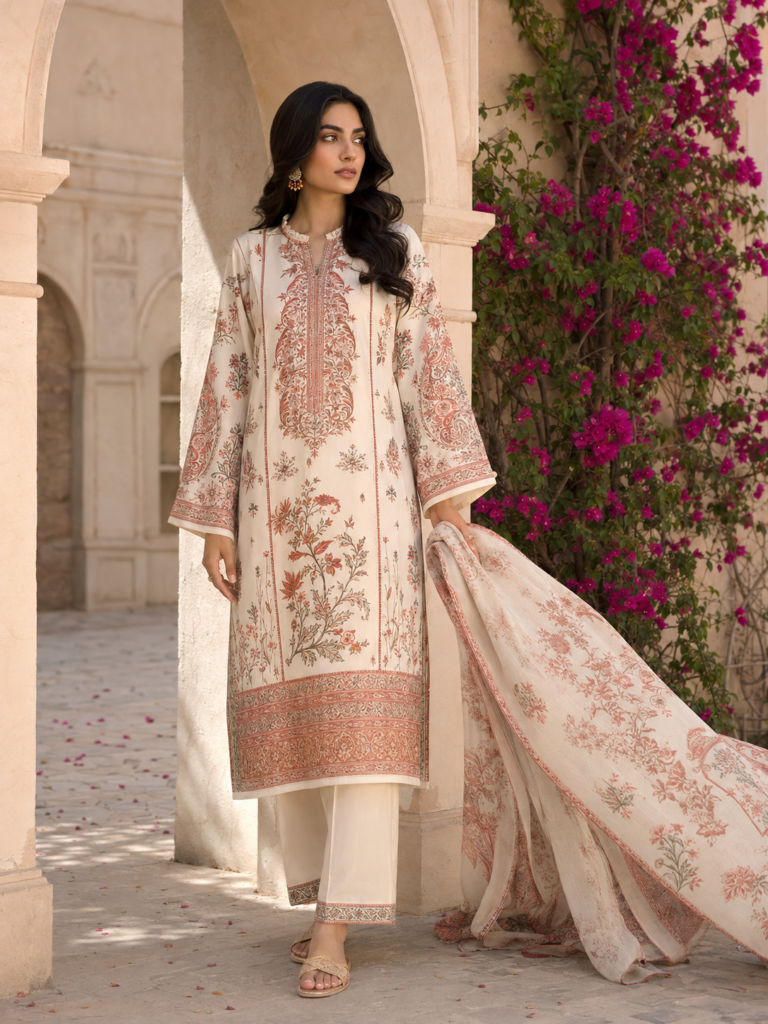
A styled photograph can show an outfit beautifully without showing how much coverage it provides. Lighting, the layer underneath and the way the model stands all affect what you can see. If opacity matters to your comfort, ask about the complete arrangement rather than judging from colour alone.
Start by naming the area that matters: the torso, sleeve, hip, upper leg or neckline. A lining in one section does not answer a question about another.
Establish which layer is included
Ask whether the garment has an attached lining, a separate slip or no underlayer. Confirm which item is supplied with the purchase and which, if any, was added for the photograph. If the listing describes a separate slip, ask for its measurements and its neckline and sleeve shape.
Then compare the layers. A long outer shirt does not establish the length of its slip. Likewise, a lined torso may be paired with unlined sleeves. Write the arrangement down piece by piece.
Request evidence for your actual question
Ask for a neutral, clearly lit view of the actual garment and its inside. If necessary, request a short video showing the fabric against a contrasting background, while recognising that a screen still cannot recreate every wearing condition.
State your preference simply: “I want coverage through the upper legs without buying another layer. Please confirm the lining length and whether the supplied trousers are lined.” That gives the seller a concrete question to answer.
Avoid asking a photograph to establish fibre content or guarantee opacity in every light. The aim is to reduce uncertainty about the specific item and its supplied layers.
Work through a three-piece example
Suppose a pale shirt is shown with trousers and a dupatta. The description says only that the shirt is lined. Your worksheet should have three rows, not one tick labelled “lined outfit.”
- Shirt: attached lining confirmed; ask its length and neckline depth.
- Trousers: lining status unknown; ask about the actual construction.
- Dupatta: assess the coverage you want from its size and arrangement separately.
If you intend to add your own slip, compare its length, neckline and movement with the outer garment before relying on it. A layer that solves one coverage concern may sit visibly at an opening or feel awkward beneath a fitted sleeve.
Consider movement and comfort together
Once you have the outfit, assess it with the underlayers you plan to wear. Sit, reach and walk in lighting relevant to your use. Notice whether the lining shifts, pulls or shows where you did not expect it. Keep the garment in its received condition while deciding whether it meets the agreed specification.
If alterations are needed, ask the tailor to explain the proposed lining material, length and attachment. Do not choose the outer garment’s size on the assumption that a later underlayer will automatically fit beneath it.
A useful opacity decision combines clear construction information with your own coverage preferences. Neither a dark colour nor a premium description substitutes for that check.
For the next step, read requesting actual-item photographs and lining and separate-slip questions for your tailor.
Check the supplied layers for any piece you shortlist from the ready-to-wear collection.
Continue exploring Quality & Buying or browse the Feyorawears Style Journal.
Featured image: Feyorawears editorial illustration.