
Seams are easiest to assess when you follow them in a consistent order. Turning a garment inside out and looking everywhere at once can leave you with impressions instead of useful observations. Start with one seam, follow its full length, and record the location of anything you want explained.
For an online purchase, request equivalent photographs of the exact item. A general picture from another colour or an earlier production batch may not answer a question about the garment being offered.
Establish what the seam is doing
Locate the shoulder, side seam and sleeve attachment on the shirt. Notice where a lining joins, where a seam crosses a border, and where an opening begins. Construction differs between garments, so do not expect every seam to use the same visible finish.
Ask for clarification if you cannot tell whether an edge is a finished allowance, a separate decorative layer or temporary stitching. The appearance of one exposed edge is not enough to identify the entire construction method.
Follow a gentle inspection route
Lay the garment on a clean surface and smooth it without stretching. Follow the seam from one end to the other. Look for a sudden gap, a detached section, unexpected gathering or a loose end whose purpose is unclear. Do not pull threads or repeatedly tug the fabric to test strength.
Next, inspect the seam junctions. At the underarm, compare how the pieces meet. At the side opening, look at the transition from joined fabric to finished edge. On trousers, follow the waistband join and view the crotch seam without forcing the fabric flat.
- Photograph the whole area first so its position is clear.
- Take a closer photograph of the detail in question.
- State whether the garment is unworn and whether any treatment has occurred.
- Ask what the visible detail is and whether correction is needed.
Compare two garments fairly
Imagine one shirt has an enclosed interior finish and another has a visibly overlocked allowance. Record those differences without treating a single construction choice as a universal quality score. Consider whether each finish suits the garment and whether it causes a practical concern when worn.
A useful comparison note could read: “Shirt A: lining covers the shoulder join; sleeve seam remains visible. Shirt B: seam allowances visible throughout; no lining listed.” This describes evidence instead of assigning unexplained stars.
If the second shirt feels uncomfortable against your skin, that comfort issue matters independently of its construction label. Ask about alternatives or a suitable alteration rather than assuming a familiar seam name will solve it.
Know when to stop inspecting
If you find a detached seam or another concern on a delivered item, preserve its condition and contact the seller before repair. Check the terms for that purchase. Do not cut, wash or alter it merely to see whether the issue disappears.
A precise description and two clear photographs usually create a more useful conversation than a long list of general quality complaints.
For the next step, read the whole-outfit finishing checklist and inspection before alteration.
Use the ready-to-wear collection to compare the garment details that matter to your own fit and finish preferences.
Continue exploring Quality & Buying or browse the Feyorawears Style Journal.
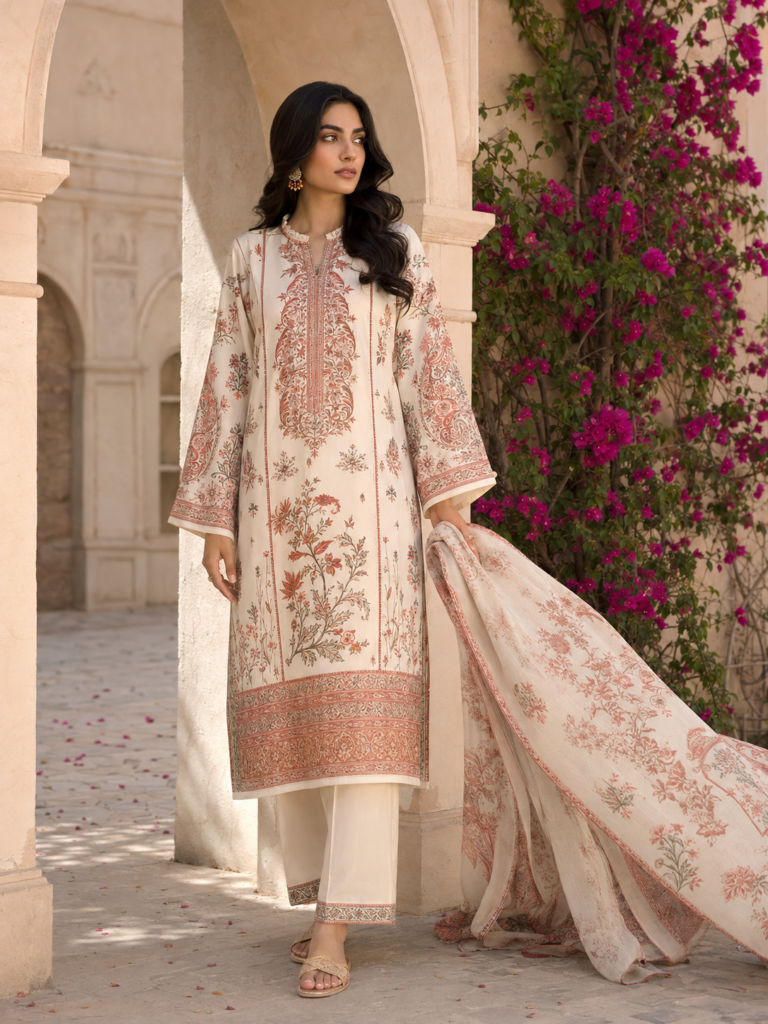
Featured image: Feyorawears editorial illustration.